Note: this is an archive. Click here to visit my current website.
Preston Richey
Up and Running with React + Rust + Wasm
I’m super excited about WebAssembly! It’s fast, (can be) small, and extremely portable. In fact, I wouldn’t be surprised if in the near future most web developers write code that eventually gets compiled to Wasm.
But currently there’s not a huge selection of resources showing how to get started with WebAssembly, and I couldn’t find any tutorials that worked with create-react-app. Most focus on writing and compiling a module, but rush over the details of actually using Wasm code. What follows is a basic setup for a React app using WebAssembly that should serve as a good foundation for more complex applications.
Setup
This post assumes basic familiarity with the command line, React, and the basics of Rust tooling. If you get stuck, the Rust Book and Intro to React are great resources.
First, go through the setup docs here in the very helpful Rust Wasm book. Install the Rust toolchain, wasm-pack, cargo-generate, and make sure npm is installed and up to date.
With a few substantial differences, I’m roughly following the directory structure shown here, but I’ll go through the process step by step. I also have the code up on my Github, here.
Our project will have 2 main directories inside of the root, lib, which will house our Rust code, and app, which will house our React app. For local development, we’ll use npm link to get around needing to deploy our Wasm code as a module, so these two directories really don’t need to be next to each other; I’m just doing so for convenience.
Creating our Rust module
First, make a directory and move into it.
mkdir hello-wasm && cd hello-wasmNext, let’s add our Rust code. I’m putting it in hello-wasm/lib.
mkdir lib && cd libLet’s add our Cargo.toml, which will act as a manifest for our Rust library. (More info here.)
[package]
name = "hello-wasm"
version = "0.1.0"
authors = ["Your Name <you@email.com>"]

[lib]
crate-type = ["cdylib", "rlib"]

[dependencies]
wasm-bindgen = "=0.2.34"
Note: we need this specific wasm-bindgen version because of reasons.
I’m omitting some niceties included in the Rust book setup doc, like allocation optimizations and an improved error handling. (More here.) You should probably include those if you plan on going further than this tutorial, but for the sake of simplicity I’ll leave that as an exercise for the reader. (That’s you!)
Next, we’ll add our library code which will be compiled to Wasm.
mkdir src && touch src/lib.rsMake lib.rs look like this:
extern crate wasm_bindgen;
use wasm_bindgen::prelude::*;
#[wasm_bindgen]
extern {
fn alert(s: &str);
}
#[wasm_bindgen]
pub fn greet() {
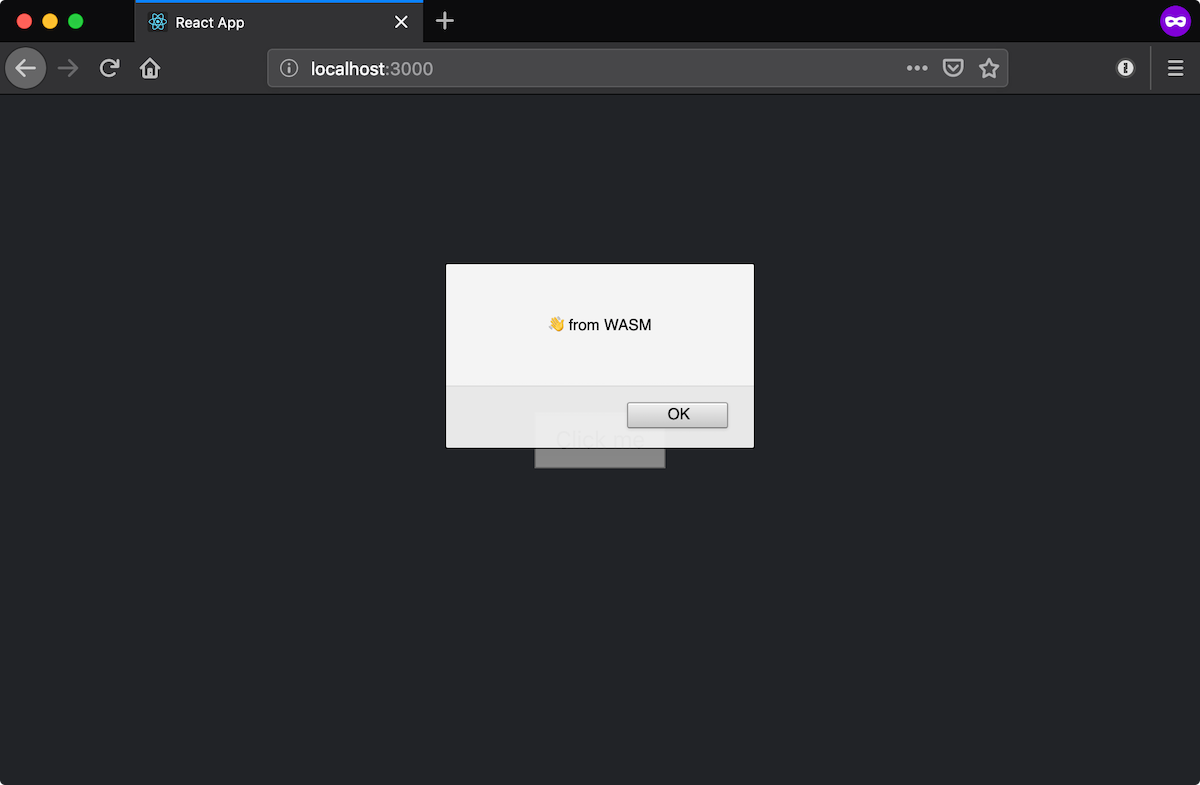
alert("👋 from Wasm");
}Briefly, what’s going on here is that we’re importing an external package wasm_bindgen which generates the bindings and glue for our public function greet so that it gets exported and can be called by JavaScript. Our greet function calls some externally defined function alert, which in this case is JavaScript’s window.alert(). For more information on wasm_bindgen, check out the docs.
Building and linking
Now, we’ll compile our Rust code and generate the module that will communicate with JS.
From lib, run the following:
wasm-pack buildIf everything goes as expected, you should have a new directory, pkg, that contains a package.json as well as the module that will eventually be imported by JS. For more information about the files that are generated, check out the Rust / Wasm setup guide here.
For a production app, pkg should be published on npm (via npm-publish), but for now, we’ll do some linking to get things to work locally. (Note: if you do actually go to publish your package, you’ll need a unique name. hello-wasm is already taken.)
From inside the pkg directory, run
npm linkThis tells npm that any time you try to import module-name (in our case hello-wasm), use symlinks to include the library which normally would be hosted externally.
Creating the client
Now that our Rust module is all built and linked, it is ready to be used by our web app. I’m partial to React, (and to the convenience of create-react-app) so that’s what we’ll use.
Back in the root of the project, run the following:
npx create-react-app appBy default, our React application’s webpack configuration doesn’t know how to parse wasm files. I wanted to find a way to fix this without ejecting and luckily, I did, using react-app-rewired.
Add the following dev dependencies (from inside our app directory):
npm install react-app-rewired wasm-loader -DThen, add a file in the root of our app, config-overrides.js, which is the entry point for react-app-rewired. Make it look like the following:
const path = require('path');

module.exports = function override(config, env) {
  const wasmExtensionRegExp = /\.wasm$/;

  config.resolve.extensions.push('.wasm');

  config.module.rules.forEach(rule => {
    (rule.oneOf || []).forEach(oneOf => {
      if (oneOf.loader && oneOf.loader.indexOf('file-loader') >= 0) {
        // Make file-loader ignore WASM files
        oneOf.exclude.push(wasmExtensionRegExp);
      }
    });
  });

  // Add a dedicated loader for WASM
  config.module.rules.push({
    test: wasmExtensionRegExp,
    include: path.resolve(__dirname, 'src'),
    use: [{ loader: require.resolve('wasm-loader'), options: {} }]
  });

  return config;
};
This particular configuration I found via this issue on Github issue. For more information on what all can be overridden, check out the docs.
In order for our overrides file to be loaded, we also need to update our package.json to call our start and build scripts via react-app-rewired, like so:
"scripts": {
  "start": "react-app-rewired start",
  "build": "react-app-rewired build",
  "test": "react-app-rewired test",
}
Putting it all together
In order to get around deploying our Wasm module to npm, we need to use the symlink we set up above. From inside our app directory, run the following:
npm link hello-wasmNow, all’s that’s left is to use the module in our React app. Feel free to start the app (npm run start), and go to localhost:3000 to see it running in your browser.
Next, replace App.js with the following:
import React, { useState } from 'react';
import './App.css';
const Loaded = ({ wasm }) => <button onClick={wasm.greet}>Click me</button>;
const Unloaded = ({ loading, loadWasm }) => {
return loading ? (
<div>Loading...</div>
) : (
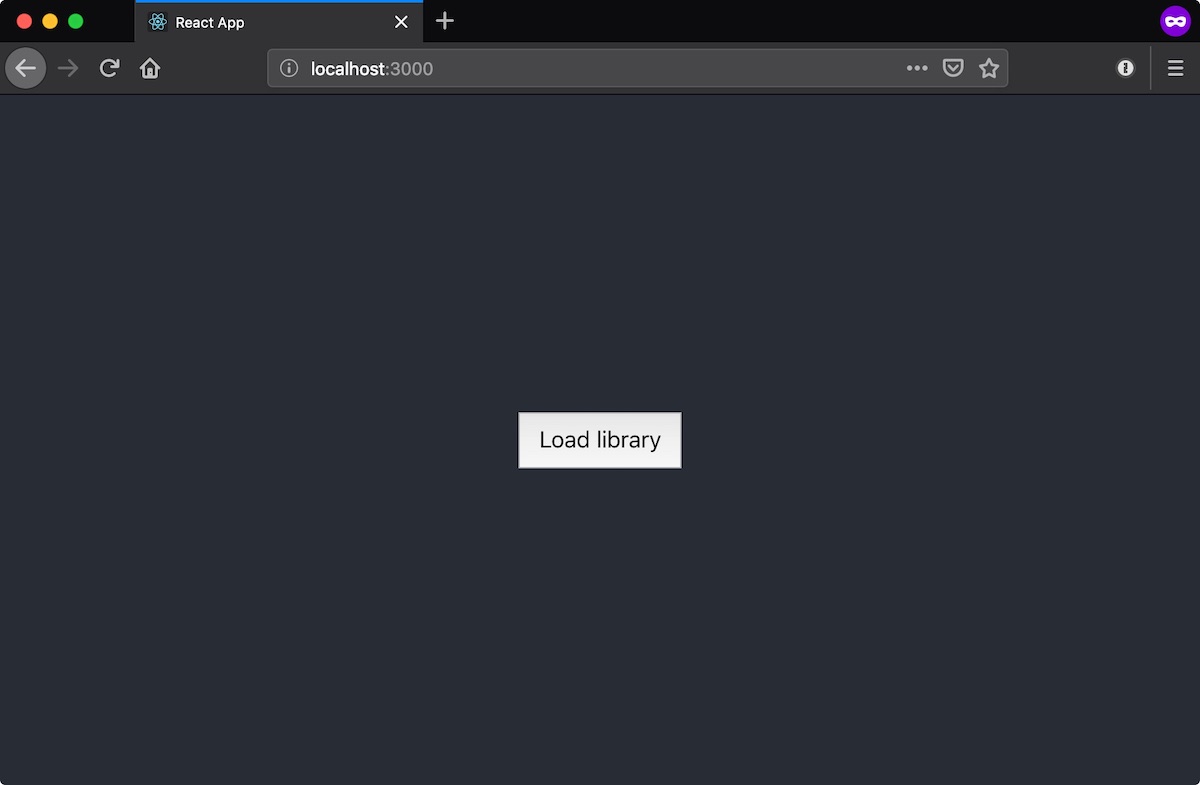
<button onClick={loadWasm}>Load library</button>
);
};
const App = () => {
const [loading, setLoading] = useState(false);
const [wasm, setWasm] = useState(null);
const loadWasm = async () => {
try {
setLoading(true);
const wasm = await import('hello-wasm');
setWasm(wasm);
} finally {
setLoading(false);
}
};
return (
<div className="App">
<header className="App-header">
{wasm ? (
<Loaded wasm={wasm} />
) : (
<Unloaded loading={loading} loadWasm={loadWasm} />
)}
</header>
</div>
);
};
export default App;Note: I’m using Hooks here, which depend on React 16.8 or higher. If you just created your app, you shouldnt’ have any issues, but if you’re using a legacy app you’ll either need to do some refactoring or update React.
You should see a button on screen, ‘Load library.’ Click on that then click again to call the loaded library. If everything went as expected, you should see an alert pop up with a greeting. Congrats, you have successfully imported and run Wasm code!
You can also try out a (hopefully) working version of the app here.
Going deeper
Conceptually, there are a few things going on here. I’ll go into detail about a few points that are worth discussing.
First, inside our App component, we have a function loadWasm:
const loadWasm = async () => {
  try {
    setLoading(true);
    const wasm = await import('hello-wasm');
    setWasm(wasm);
  } finally {
    setLoading(false);
  }
};
Notably, this function is asynchronous. You might have expected to import our Wasm module at the top of the file, like you would most other modules (import {wasm} from 'hello-wasm', e.g.). We do this for a few reasons. First, the browser gives the following error when attempting to import the wasm module synchronously:
WebAssembly module is included in initial chunk.
This is not allowed, because WebAssembly download and compilation must happen asynchronous.
Furthermore, allowing the user to opt in to loading the full Wasm code is the best practice especially if your Wasm module is huge. Giving a user a heads up before loading such a large chunk (especially those on slower or mobile connections) is probably the best approach in this situation.
Our App renders the following JSX:
<div className="App">
  <header className="App-header">
    {wasm ? (
      <Loaded wasm={wasm} />
    ) : (
      <Unloaded loading={loading} loadWasm={loadWasm} />
    )}
  </header>
</div>
If our wasm library hasn’t been loaded, we render the Unloaded component, passing through props loading (whether or not the App is currently loading the Wasm module) and loadWasm (the function which, once called, will import the Wasm code itself).
const Unloaded = ({ loading, loadWasm }) => {
  return loading ? (
    <div>Loading...</div>
  ) : (
    <button onClick={loadWasm}>Load library</button>
  );
};
Once loadWasm is called on button click, a loading message is shown, and then our Loaded component is rendered once the module successfully loads.
const Loaded = ({ wasm }) => <button onClick={wasm.greet}>Click me</button>;The Loaded component is where you would place any code that relies on your Wasm library. Here, we just render a button. On click, we call the one function exported by our Rust module, greet, which calls JavaScript’s alert. If you haven’t already, go ahead and click on the button to confirm it works as expected.
Two clicks later…
(I added a bit of a bit of CSS for the sake of those screenshots.)
What’s next?
Hopefully everything included above works for you, or at least helps you getting to a working solution. And hopefully you’re as excited as I am about the potential of WebAssembly! I plan on delving deeper into Wasm and using it for a more substantial application. Popping up an alert is cool and all, but it doesn’t scratch the surface of what Wasm is really capable of. I plan on continuing to blog whenever I have anything interesting to say, so feel free to follow along either here or on Twitter. Thanks for reading!
A caveat: WebAssembly is still in active development (as are most of the different tools used in the process of generating Wasm). I had to do lots of searching to find a solution that worked at the time of publishing. It’s very possible that in the future these specific fixes won’t work, and though I’ll try to keep this post updated, there’s no way I can guarantee this will work in perpetuity. Just a heads up!